-
Leckém
Remember all the good things

This tutorial is written with Corel X7, you may work with other PSP version.
Plugins:
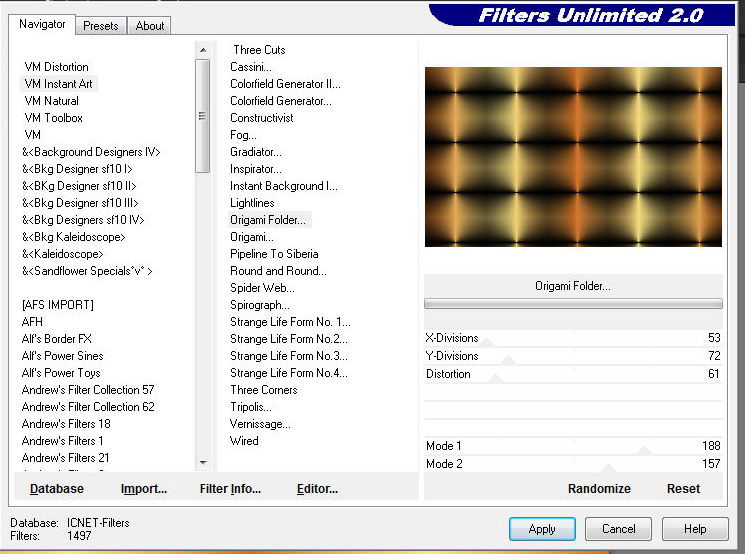
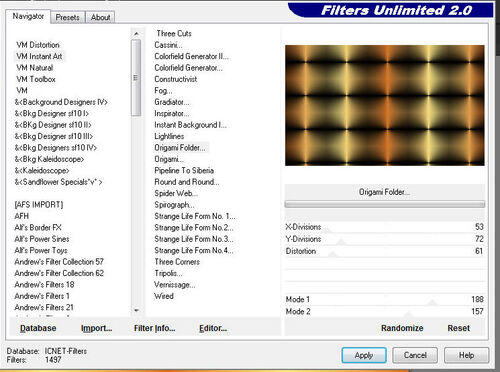
VM INstant Art - Origami folder
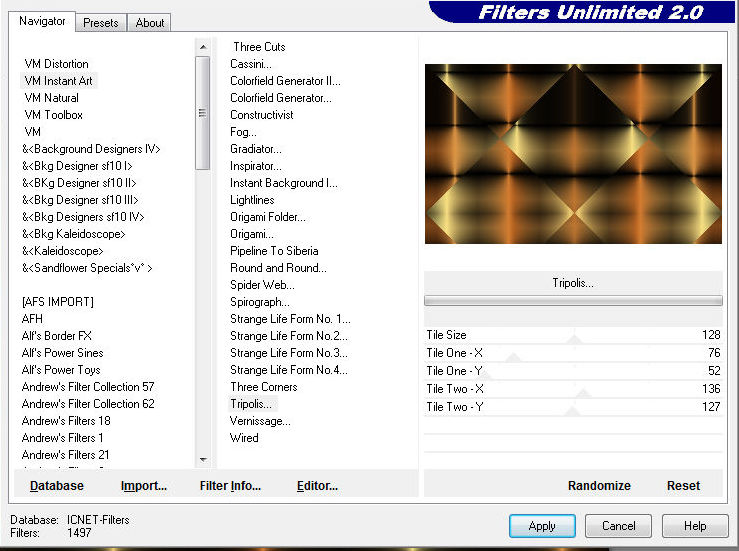
VM INstant Art - Tripolis
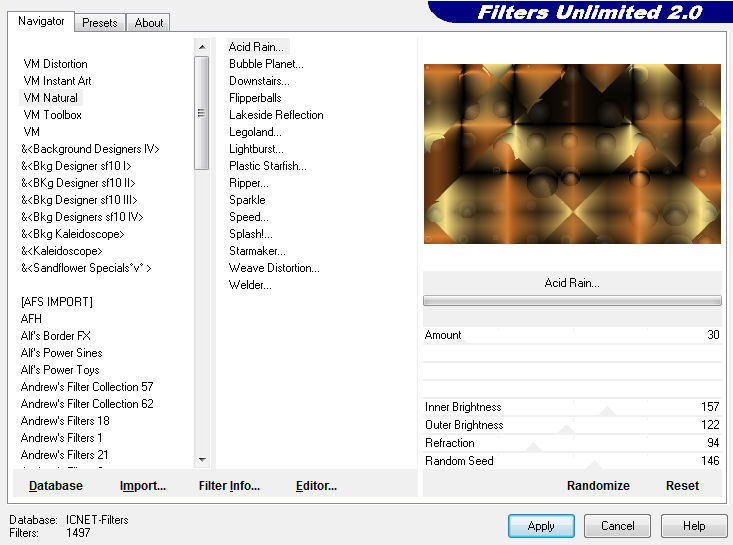
VM Natural - Acid Rain
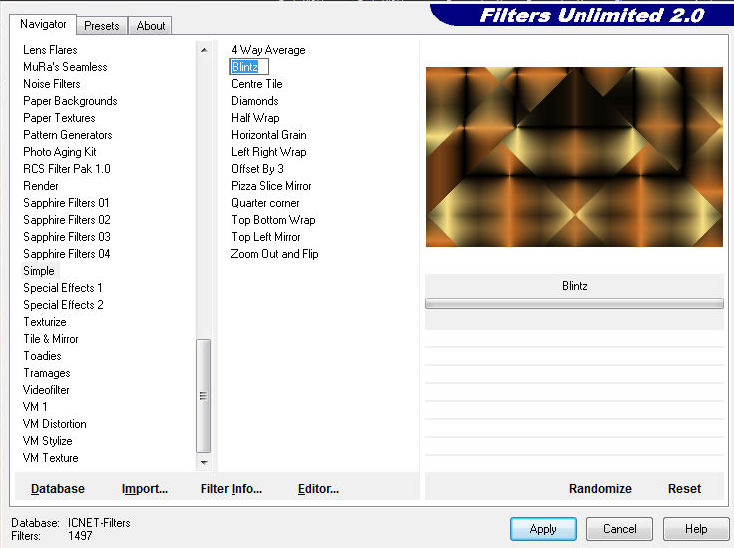
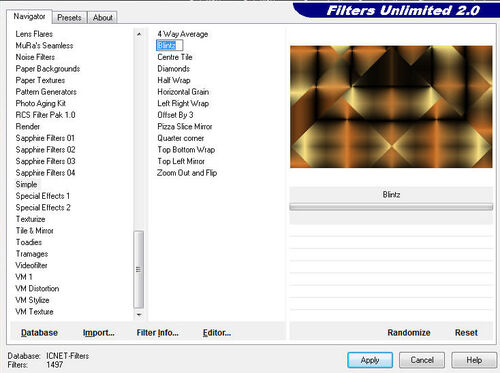
Simple - Blintz
Mura's Filter Meister - Perspektiv Tiling
FM Tile Tools - Blend Emboss
Alien Skine Eye Candy Impact - Perspective Shadow
Graphics Plus - Cross Shadow
AAA Frames - Texture Frame
Nik Softwer Color Effex Pro
Colors:
Foreground: #d07228
Background: #fbe889

Material:
1. Open new file:
Transparent 900x550 pixel
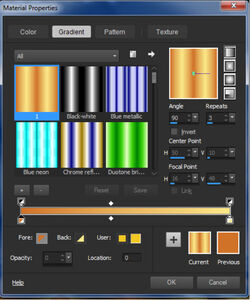
2. Set Foreground/ Background gradient
3. Fill with the gradient
4.Effect VM INstant Art - Origami folder
5. Effect VM INstant Art - Tripolis

6. Effect Simple - Blintz
7. Layer duplicate
8. Effect Mura's Filter Meister - Perspektiv Tiling

9. Activate the Magic Wand Tool and click on the transparent parts
10. Selection - Modify - Feather

11. Feather selection: 40

12. Push the Delete button on your keyboard 5 - 6 x
13. Select none - Layer Opacity: 61
14. Activate Raster 1 - Background
15. Selections - Load/Save Selection - Load Selection From Disk - seytut1
16. Selection - promote selection to layer
17. Effect Textura Effects - Mozaik Antique

18. Select none
19. Blend Mode: Lighten
20. Open the Landscape - Edit Copy
21. Edit Past as New Layer
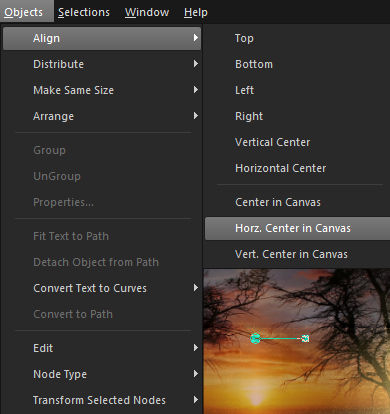
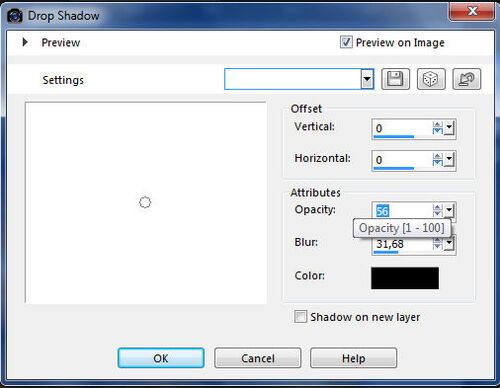
22. Objects - Align - Top
23. Objects - Align - Horz Center in Canvas

24. Opacity: 65
25. Effect FM Tile Tools - Blend Emboss

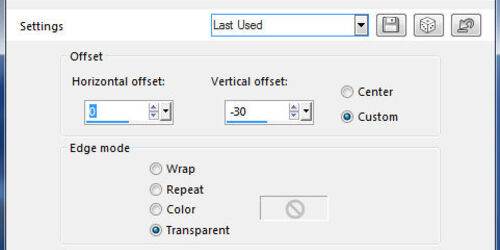
25. Activate Raster 1 - Load/Save Selection - Load Selection From Disk - seytut2
26. Promote Selection to Layer
27. Selection none
28. Effects Texture Effects - Blinds
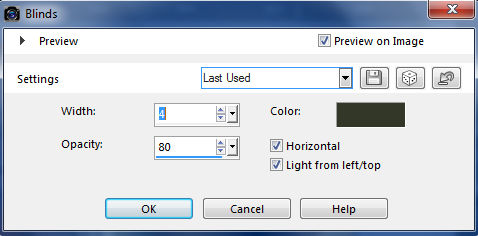
29. Opacity: 53
30. Layer duplicate
31. Image Mirror Horizontal (Ctrl+B)
32. Layers look like this now:

33. Activate Raster1 - Duplicate
34. Effect VM Natural - Acid Rain

35. Opacity: 42
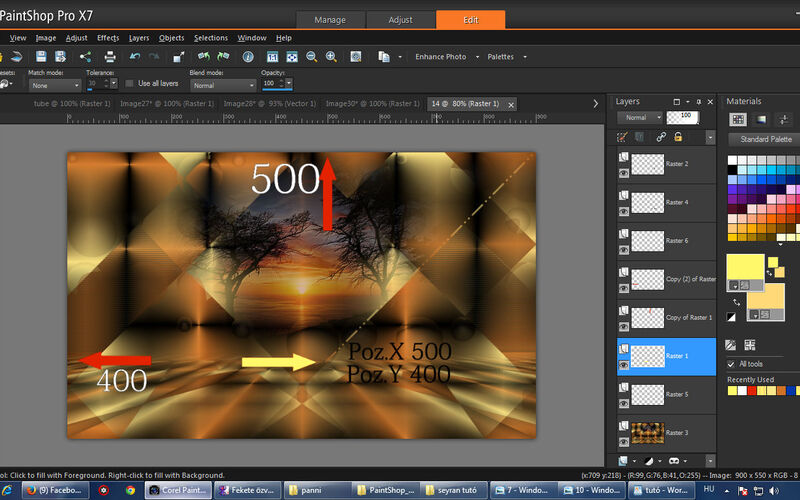
36. Activate Pen Tool, Line Style: Dash Dot Dot, Line Width: 4 pixel

37. Draw a Line from the Top Right Corner to the yellow arrow
38. Convert to Raster layer
39. Effect - Edge Effect Enhance
40. Effects - 3D Effects - Inner Bevel

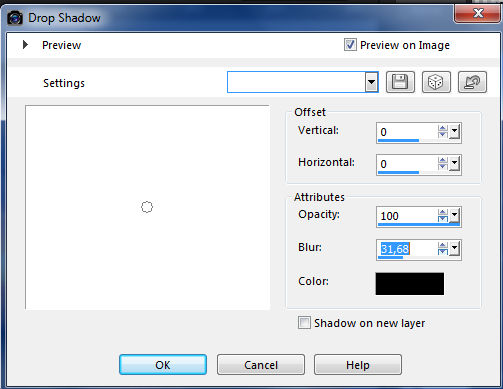
41. Drop Shadow

42. Layer duplicate - Image mirror Horizontal
43. Merge Down
44. Layer duplicate - Image Flip Vertical
45. Effects - Image Effects - Offset
46. Merge Down
47. Custom selection

48. Delete, Select none
49. Merge Visible
50. Open the Woman tube, Copy, Past as New Layer
51. Adjust Sharpness - Sharpen
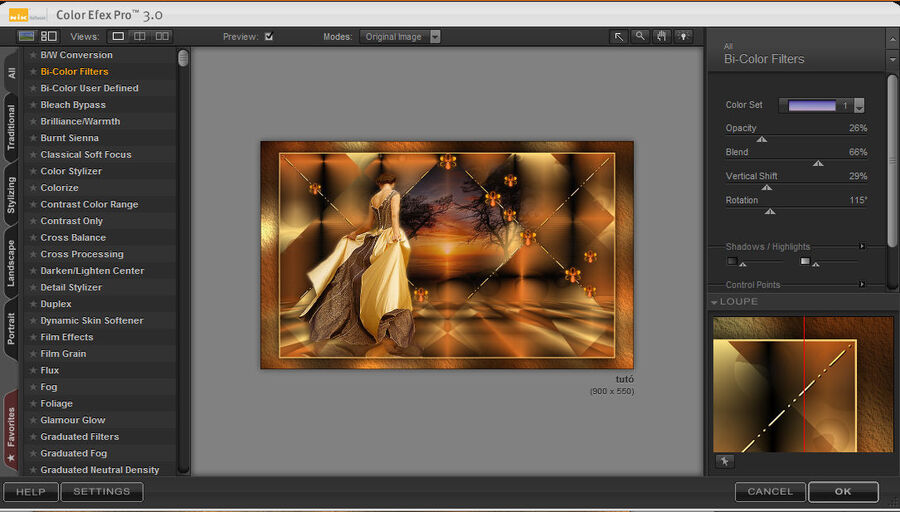
52. Drop Shadow
53. Effect Alien Skine Eye Candy Impact - Perspective Shadow
Reflect in Front - Sharp


54. Open the flower tube, Past as New Layer
55. Duplicate - Optionally - Drop Shadow 0,0,60,25 or Open the Flower2 tube and Past as New Layer.
56. Merge Visible
57. Layer Duplicate
58. Activate Bottom Layer, Blur - Gaussian Blur: 15
59. Effect Graphics Plus - Cross Shadow - default
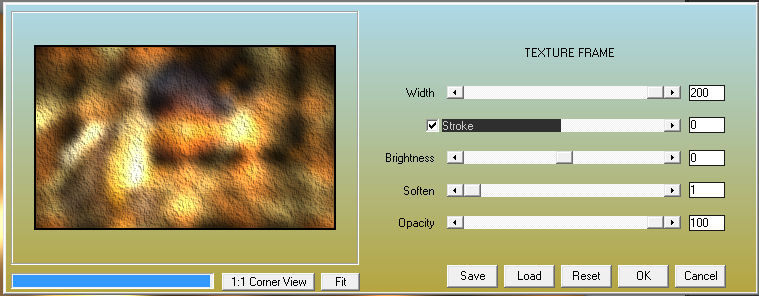
60. Effect AAA Frames - Texture Frame

63. Activate Top Layer
64. Select All - Select Modify - Select Selection Borders 2 pixel

65. New Raster Layer
66. Fill the layer #fbe889
67. Select none
68. Merge Down
69. Image Resize 90 %

70. Drop Shadow: 0,0,100,35
71. Merge Down
72. Effect Nik Softwer Color Effex Pro
73. Open the Text - Past as New Layer - Merge Down
74. Your Watermark

-

Összes látogató 05/10/2015 : 3854
Jelenleg online : 1
Legtöbb látogató összesen : 13 -